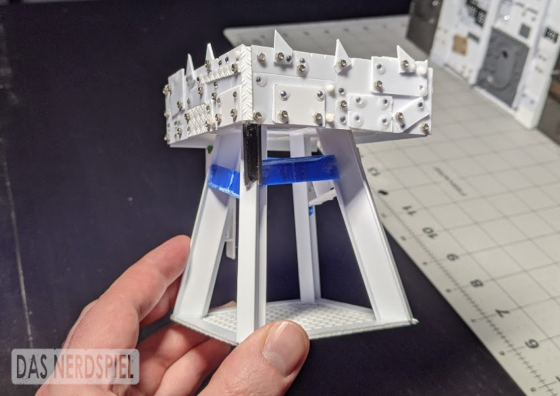
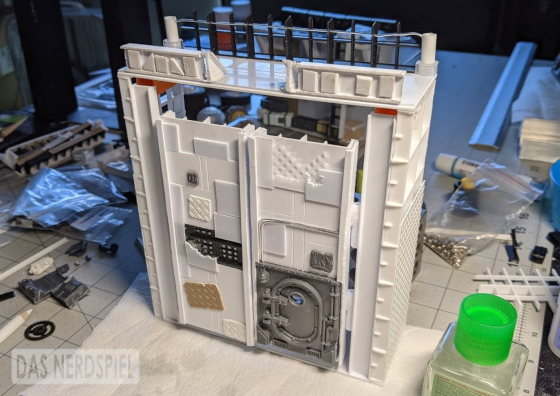
My fort now has an appropriately orky front gate. Astute observers might notice that this gate is substantially different than the original one that I created and isn't actually made of foam. You would be correct.
My original gate was built from XPS foam and had a drawbridge-style gate that was essentially just held in by friction. This severely limited what I could do with the gate, since I couldn't really add any additional detail to any of the parts that had to fit together, nor could I really add any sort of hinges or mechanisms for actually opening the door. As such, I decided to abandon the pressure-fit gate altogether and start out with a new one.
Since I couldn't really make the foam any thinner without compromising its already weak structure, I opted to build the structural framework out of some aquarium filters. Although they're not made of the most rigid plastic, their grid structure made them pretty stable, except at the joints. Still a definite step up from the foam.
Also, the grid made it super easy to add the magnets!
The doors themselves were also based on the aquarium grating. I built some hinges out of plasticard rod that both allowed the doors to swing open for my vehicles to exit or to be removed if a band of Muties decides to blow them up during a siege.
I also added a nice bulkhead door from Necromunda, since I wouldn't think that they'd want to open and close the gates every time a mobster came in or out.
I made the doors look especially ramshackle, with big sections that looked like they'd been damaged and then hastily patched over. I also made sure to run some wires to that light so that the guards can see who's knocking at the front door in the middle of the night.
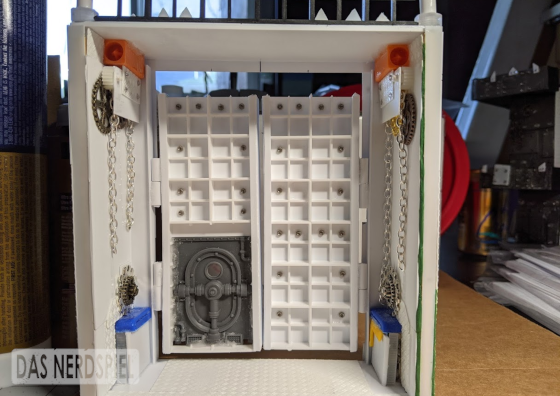
The framework of the door can be seen from the back, and I made sure to add plenty of bolts as well. I also added a few big chunks of detail in the corners to help shore those joints up against shearing forces.
Again, since the fort is modular and meant to be used by all the mobs in our group, I didn't want to put any specific identifying details to tie it to my mob. Instead, I added some magnets above the gate so that whichever mob is using the fort can have their insignia showing.
I'm quite pleased with how my mob's sign turned out.
Finally, I decided to add a bit more detail to the bare walls on the inside of the gate. I modeled some big mechanisms with chains and pulleys that were probably once used to open the doors, but were now clearly broken. I'm sure the spannerz have jury-rigged a temporary solution to operate the doors that has become the norm now.
This makes for the eighth and final wall section of the fort, which means I'm really going to have to hook up my airbrush for real one of these days. Hopefully it won't take me a whole year to actually paint it.


